Kitchen Wood Floor Installation: Considerations and Tips
Wood flooring has become one of the most desirable choices for kitchens, blending practicality with timeless beauty. If you’re considering a kitchen wood floor installation, the right preparation and product choice will ensure your floor stands up to daily life while adding warmth and character to your home.
Choosing the Right Floor for a Kitchen
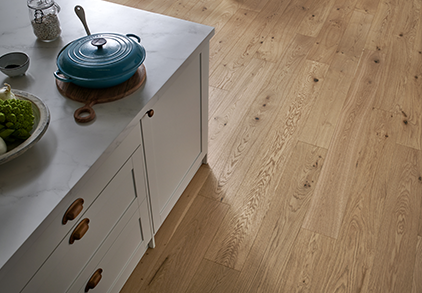
Not all wood floors are created equal, and the kitchen demands something durable and moisture-resistant especially in heavier wear areas such as in front of the kitchen sink or hob/cooking area.
Natural wood floors are generally the hardest wearing given they have no stain or surface colouring to wear through or show early signs of wear. You can expect a little more from a traditional natural or natural coloured wood floor.
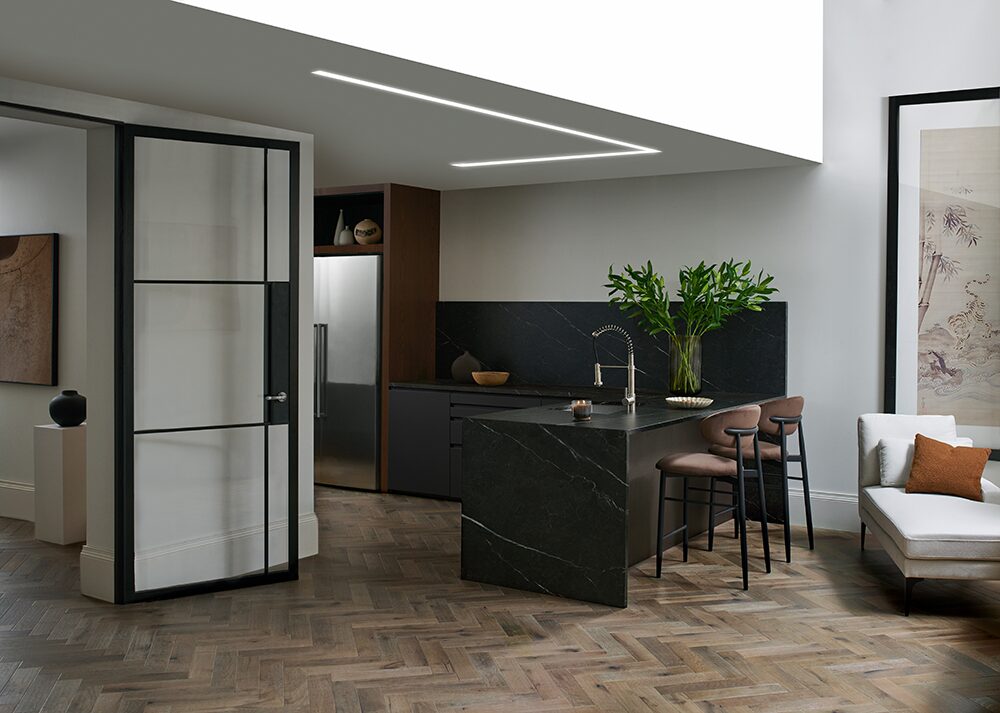
For modern kitchens, options such as Goodrich Ecru Oak or Chepstow Planed Grey Oak offer beautiful tones that can transform your space. If you’re leaning towards Scandinavian influences, our feature on pale wood flooring and the Scandi look offers plenty of inspiration.
Preparing for Installation
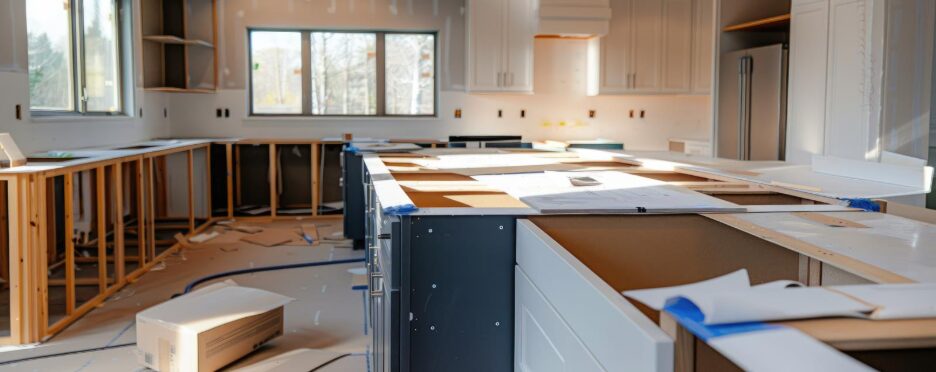
Preparation is the foundation of a flawless floor. Ensuring the subfloor is clean, dry, and level is essential, and you can find suitable subfloor accessories to make this process easier.
It’s important to allow the planks to acclimatise in the room for several days before fitting, so they adjust to the kitchen’s temperature and humidity. Leave an expansion gap around the edges to accommodate natural movement of the wood, and always follow guidelines on adhesives or underlay. For a more in-depth advice, see our full guide to getting wood floor installation right.
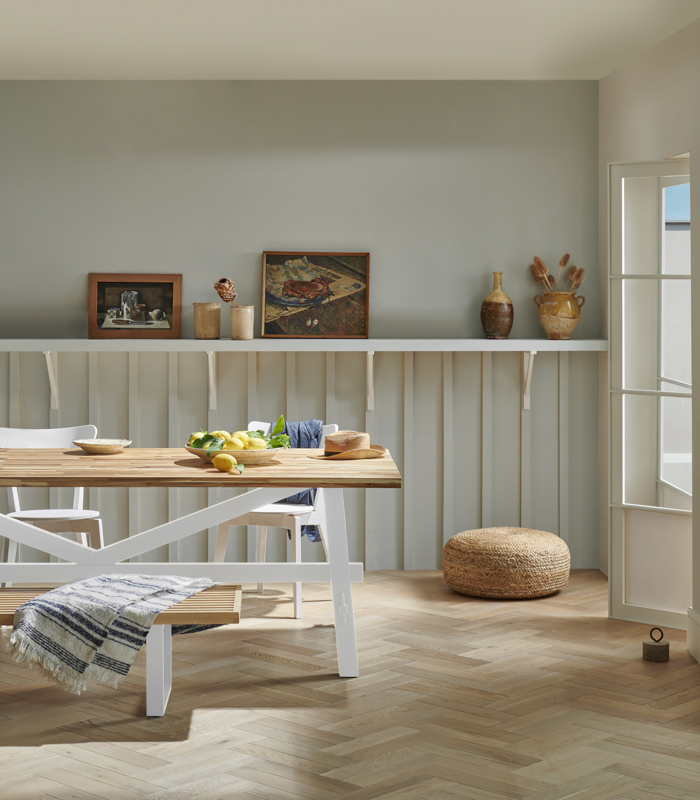
If you’re planning to install herringbone, don’t miss our five tips for successful herringbone installations. And for budgeting purposes, our guide to herringbone floor installation costs will help you plan with confidence.
Kitchen-Specific Considerations
The kitchen is a high-traffic space prone to spills, heat and heavy footfall, so careful planning and maintenance are essential.
- Fit cabinets before flooring – this prevents trapping or damaging the wood beneath heavy units.
- Direction of planks: Lay them parallel to the main light source to achieve a cohesive visual flow.
- Protection: Apply felt pads under appliances and furniture to prevent dents, and use mats near sinks or dishwashers to catch splashes.
Seasonal changes can sometimes lead to gaps in wood floor boards. Understanding why this happens will help you keep your kitchen floor looking amazing year-round.
And of course, regular care is essential. Our tips on maintaining a wood floor show how simple routines can make your kitchen floor last for decades. For autumn inspiration, read our wood floors in a kitchen blog, explaining the latest design updates and how to balance practicality with style.
Reviving and Repairing
Even the best kitchen floors can suffer the occasional scratch or dent. The good news is that you don’t always need a full replacement. Our guide to wood floor repair shares how you can revive and renew your hardwood floors, ensuring they stay as striking as the day they were installed.
Wood Floor Installation in a Kitchen
From the preparation stage through to styling and maintenance, a kitchen wood floor installation is a rewarding project that transforms the heart of your home. With the right approach, it can be both practical and breathtakingly beautiful.
Wood flooring in a kitchen looks beautiful and can last for decades when properly cared for. Keep the space well ventilated, use an extractor fan while cooking, and open windows when possible to control moisture. A tiled hearth around traditional floor-mounted ovens adds extra protection, and wiping spills immediately will help preserve the finish. With these habits, your kitchen truly remains the heart of the home.